If you want to monitor your property or protect your family, a properly installed CCTV system can give you peace of mind. This guide provides you with step-by-step instructions to efficiently install your CCTV camera.
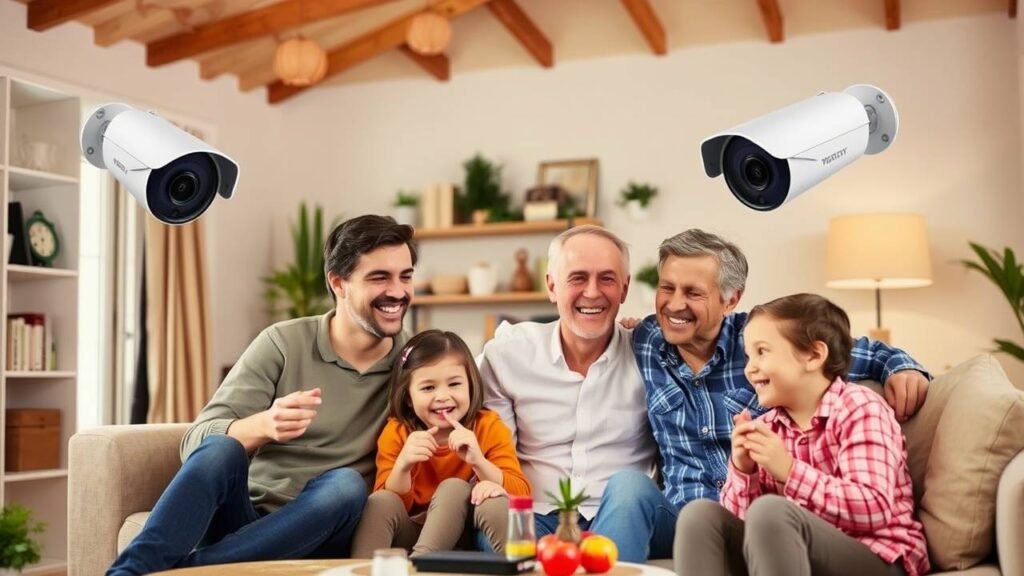
Making sure that homes, businesses, and public areas are secure has become a priority in today’s day and age. Closed-Circuit Television (CCTV) cameras serve an important purpose in securing a place by offering real-time tailing and capturing activities around a place. Moreover, these surveillance systems can serve as a deterrent for criminals, resulting in lower rates of theft, vandalism, and unauthorized access to premises.
CCTV cameras offer features like night vision, motion detection, and remote monitoring through mobile applications, enabling property owners to monitor their premises from any location. They also act as crucial evidence in the case of crimes, assisting law enforcement in identifying wrongdoers. CCTV systems also enhance workplace safety by monitoring employee activities, reducing the risk of accidents.
8 Steps to Install CCTV Camera at Home
Regardless if it is for residential, commercial, or industrial use, investing in a CCTV system is a wise choice that provides satisfaction in the peace of mind. Getting CCTV is the best way to keep everyone and your property safe, provided that it is installed correctly.
Step 1: Preparation for the Installation of a CCTV System
Before starting, evaluate your home to see what the best places for the cameras will be. Consider installing cameras at strategic locations like entrances, driveways, and blind spots. Select a tall enough height to discourage tampering, but low enough that the view is unobstructed.
Step 2: Select Appropriate CCTV System
First of all, there are many kinds of CCTV cameras like wired cameras, wireless cameras, dome cameras, bullet cameras, and so on. Select a system according to your security requirements and budget. Also make sure to get a DVR/Digital Video Recorder/NVR/Network Video Recorder for video storage.
Step 3: Get The Proper Equipment
Requirements for Your CCTV System Installation
- CCTV Cameras
- DVR/NVR System
- Hard Drive for storage
- Power supply and cables
- Mounting brackets and screws
- Drill machine and screwdrivers
- Live view: Monitor or smartphone
Step 4: Install the Cameras
- Use brackets and screws to mount the cameras to walls or ceilings.
- Dynamically change the angle depending on the targeted area.
- Use a pipe finder to identify where to place your cameras.
Step 5: Fish Wires and Connect Power
For wired cameras:
- Connect the cables from the cameras to the DVR/NVR system
- Armor cables with conduitsProtect cables from damage using conduits
- Power Cables Connect to Reliable Power Source
For wireless cameras:
- Connect cameras to Wi-Fi.
- For streaming the videos you must have a stable internet connection.
Step 6: Link and Set Up the System
- Connect a displays with the DVR/NVR for real time viewing using your smart-device.
- Set motion detection, recording schedule and storage settings
- Configure a mobile app for viewing and controlling from a distance
Step 7: Test and Adjust Your Cameras
- Ensure that the cameras record the footage clearly.
- Adjust angles if necessary.
- Check those night vision and motion detection capabilities.
Step 8: Secure Your System
- You can configure it to have a good password for remote connect.
- Keep your firmware and software up to date.
- Make sure that all important videos will not be losing because of improper data backup.
Conclusion
Setting up a CCTV camera at home is a wise purchase for security. If you have the proper equipment, do some planning, and install everything correctly, you can keep an eye on your property. If you do not feel confident to install yourself, you may want to pay a professional to setup and maintain it for you.